Pattern Brushes in Illustrator Part Two
In part two of looking at Pattern Brushes in Ilustrator we look at how to expand brushes to add shapes to corners and the ends of paths.
If you haven’t read part one of Pattern Brushes in Illustrator now might be a good time. It shows how to add a brush and create complex shapes using a circle.
What about corners? 
Good question. Using a circle we don’t have to worry about corners. But if we want to draw a square of rectangle then we need to specify how the corner should look too. In this example we are going to design an art deco frame. First lets start by creating the pattern along the edge. I’ve created three half circles.

As in part on select the objects and then call up the brushes panel by going to Window > Brushes. Then in the flyout menu in the top right click New Brush. If you need a refresher have a look at part one.
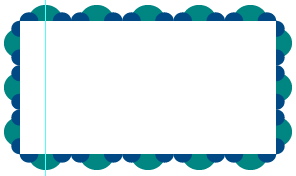
Once we have done this draw a rectangle and then click on the pattern. Straight away you have a frame.

Adding corners 
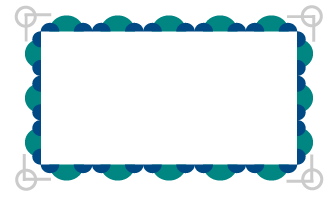
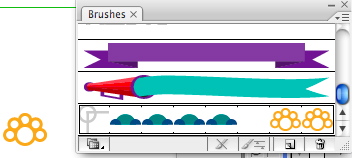
This is the tricky bit. I’m going to add a corner to the frame. I’ve drawn a motif that I want to appear in the corner of the frame. In the brushes panel you will see there are several boxes. The first box is the one that sets the corners. To add the shape you have drawn select it and then hold Alt as you drag it into the box. Watch the video below to see this in action.
If you drag it in and a new brush is created then you have not pressed ALT. You will see the pattern brush options appear again and you can update any existing occurrences of the pattern brush. After I’ve added the corners my frame looks like this:

Further options 
Double click on the pattern brush in the Brushes palette and you will see further options appear. You will see that you can specify a shape for internal corners and the beginning and end of paths. To create these you do exactly the same as adding the corner shape but drag the shape into the boxes to the right. I’ve added a simple shape that should appear at the end of open paths by dragging it into the boxes on the right. I’ve added the same shape for the start and beginning but you can specify different ones if you wish.

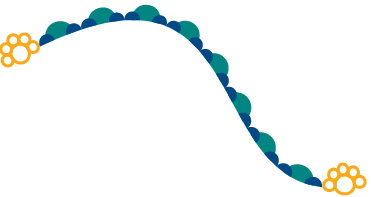
Now if you draw an open path and click on your brush you will get the shape appearing at the end of the path.

Tags
Can you help make this article better? You can edit it here and send me a pull request.
See Also
-
Pattern Brushes in Illustrator Part One
Pattern Brushes in Illustrator are a great way to create complicated designs in no time. Part one shows an example of how to use Pattern Brushes with circles. -
Circular shapes and patterns in Illustrator
Making circular shapes and patterns in Illustrator is straightforward using a simple technique. Here's how to save yourself some time. -
Repeating shapes in Illustrator
Here's a simple tip I came across for quickly creating repeating shapes in Illustrator. Give it a try it.