Learning iPhone Development - Interface Builder
I'm following along with the Stanford University iPhone development Winter 2009 course. In this article I walk-through assignment 1A and create a simple view using Interface Builder.
Assigment 1A 
Assigment 1A at the time of writing is still available to download from the Stanford Site. It is very simple - to create a view with some text and an image in it.
The assignment doesn’t even need any code and can be created just using Interface Builder.
Creating the project 
I’m just starting out so I’m going to list the steps for creating the project.
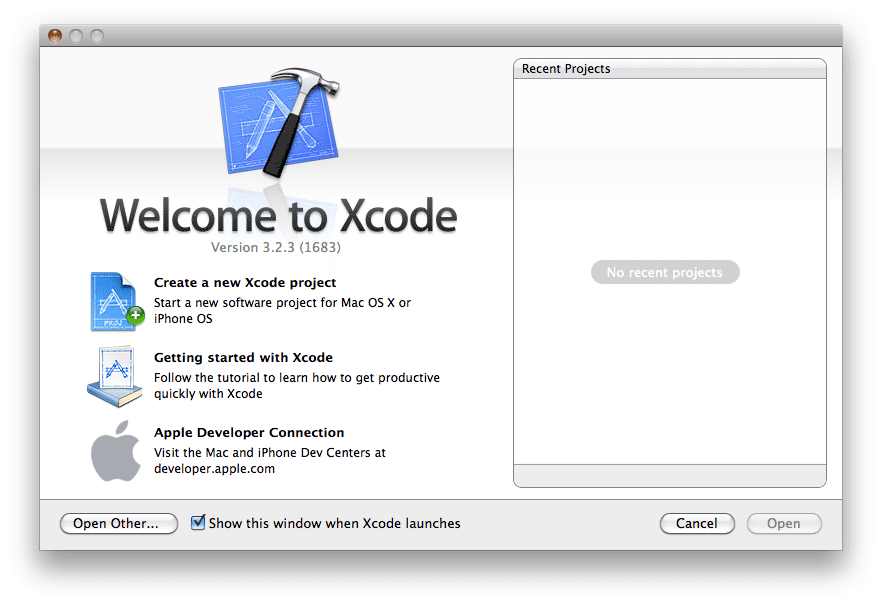
So we need to create a new project in Xcode. Launch Xcode and you’ll see this screen and we want ‘Create a new Xcode Project’.
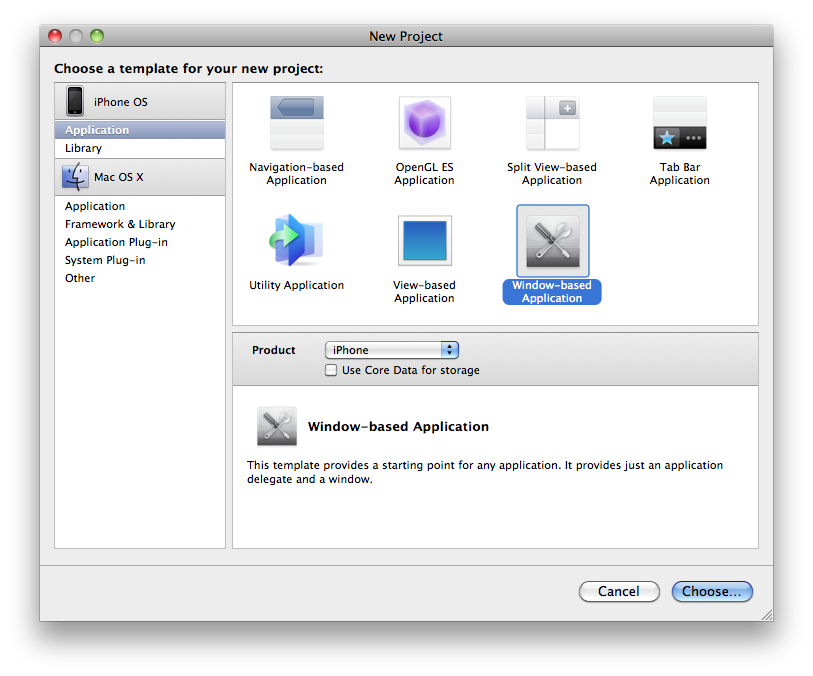
Then we need to chose the type of Project. In this case an iPhone OS application and a ‘Window Based Application’. I’m going to be creating a view with my favorite comedian Les Dawson on so I called the application LesDawson.
Working in Xcode 
I’m a long term TextMate user so Xcode wasn’t entirely unfamiliar. I chose to change the theme to Dusk by going to Preferences > Fonts & Colors.
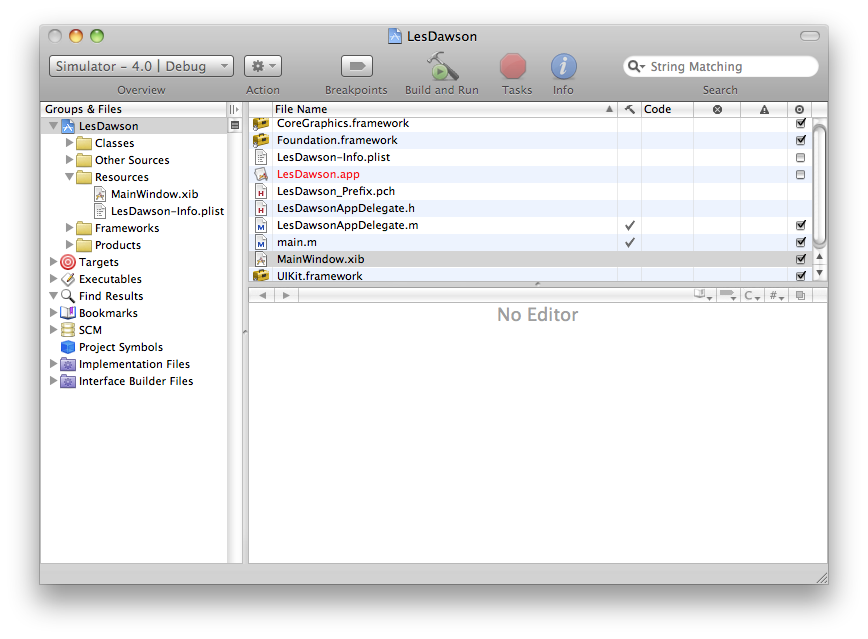
In terms of this assignment the file we want to edit is the MainWindow.xib file. If you double click it Interface Builder will launch. This will bring up some windows, but you’ll want to make sure that you can see ‘Window’ and ‘Library’. If you can’t see the ‘Library’ window go go to Tools > Library.
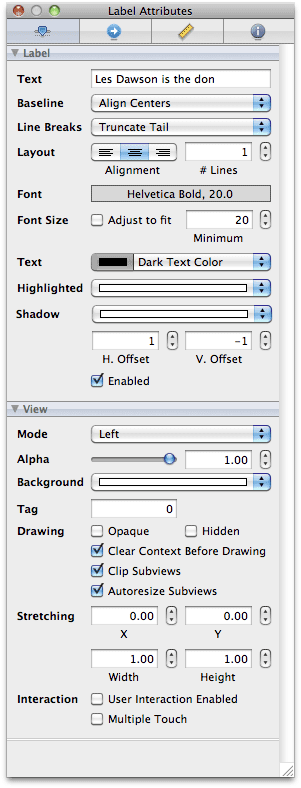
Now select the Library window. At the bottom is a settings icon. I found changing the option to View Icons and Labels was more helpful to me. Then you can just start to drag elements into the main window. I dragged a label into the window and changed the text.
In the attributes window you can style the text. I added a shadow to the text.
Adding a resource 
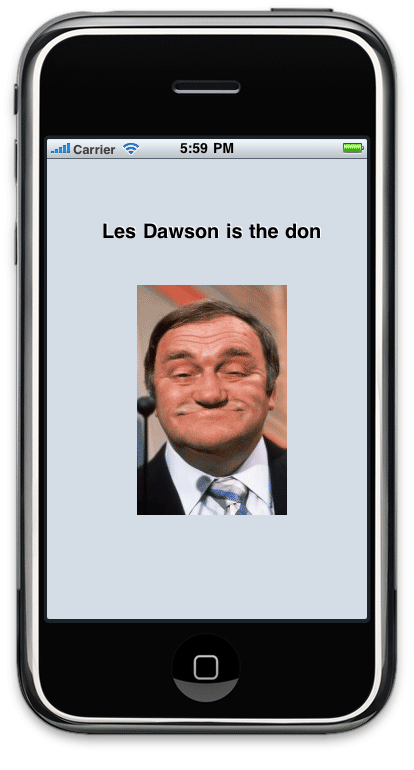
I need to add an image so to do this you simply drag the image from your network or filesystem into the resources folder. Make sure you check ‘Copy items into destination group’s folder’. Now back in Interface Builder you can drag an Image View into the window. Once you’ve done that you can edit the UIImageView’s properties and select the Image from the Image dropdown. You might need to set the image size - you can do this under Image View Size. So you should be done with Interface Builder, but don’t forget to save by going to File > Save.
Now back in Xcode you can hit the ‘Build and Run’ button and you should see your view launch in the Simulator.
Source code 
I’ve created a Github repository for these examples if it is useful to anyone.
Tags
Can you help make this article better? You can edit it here and send me a pull request.
See Also
-
Beginning iPhone Development
I've recently started to learn to develop for the iPhone and iPad platforms. There are plenty of resources available for beginners and if it helps anyone I'm listing them here. -
Using the iPhone alarm
Coming from a Nokia I found it frustrating that you can't completely turn an iPhone off at night and be woken by the alarm. Thankfully there is a workaround.