Custom brushes in Illustrator
Custom Brushes in Illustrator are an excellent way to add to designs. Here's a short tutorial how they work and how to use them.
In this tutorial we are going to show how to create a simple brush that will create a starry sky for a nighttime illustration. This tutorial will focus on scatter brushes.

You can download the Illustrator file here
How to create a custom brush 
Creating a custom brush is simple. You draw objects directly onto the canvas. To create the stars I’m cheating and using the Star Tool but you could draw this by hand.
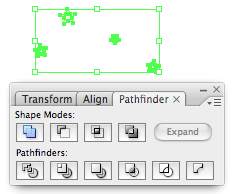
Then select all the shapes using the select tool and bring up the Pathfinder window by going to Window > Pathfinder. Click add to shape area. This joins all the stars together to we can drag them to the brushes window.

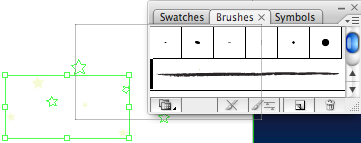
Once you are happy with what you have drawn bring up the Brushes window by going to Window > Brushes. Then with the stars selected drag them into the brushes window. Select New Scatter Brush and then give it a name. Your brush is now ready to use. Once you have added the stars into the Brushes window delete the stars on the canvas.

Using the brush 
To use the brush just select the brush tool (Shortcut B) and then draw on the canvas. If you draw a curve the stars will scatter around it. This is a very similar effect to the Symbol Scatter Tool but as so often in Illustrator there is more than one way to do things.
Mofifying the brush 
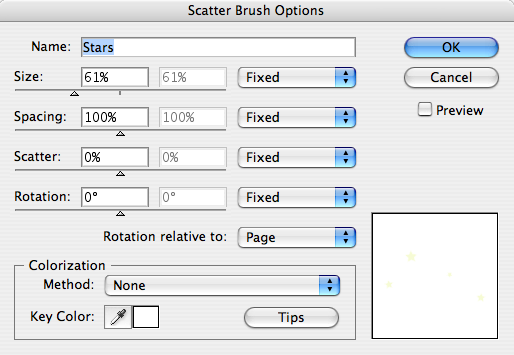
Once you have drawn the stars using your brush you may wish to modify the brush slightly. By double clicking the brush in the brush window you can change many options. You are given the option to update the paths you have already drawn on the canvas so this is an excellent way to fine tune the effect you want.

Tags
Can you help make this article better? You can edit it here and send me a pull request.
See Also
-
Creating a comment icon in Illustrator
A short tutorial on creating a vector-based comment icon in Illustrator. The tutorial includes a downloadable illustrator file to work through the example with. -
Drawing symmetrical shapes in Illustrator
Drawing symmetrical shapes in illustrator can be a little bit tricky but once mastered it is a technique you can use over and over again. -
Pattern Swatches in Illustrator
Pattern Swatches are a hidden gem in illustrator. You can use them to quickly fill shapes with patterns and illustrations. Here's a short tutorial using a t-shirt design.