Adding a vignette to a video using Photoshop
How to create a vignette frame in Photoshop and add it to a video using Adobe Premier
Background 
My brother Sam Ornbo is a freelance television Producer and Director and has recently been doing some work for a Scooter company. He shot a short promotional film for them and wanted to recreate the vignette effect that is used heavily in Top Gear. He uses Adobe Premier to edit videos which allows you to import PSD files, so asked me for some help in creating the vignette.
Creating the vignette 
To create the vignette first select the Ellipse Tool and draw an Ellipse like this
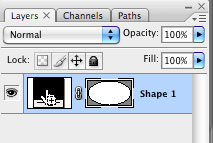
Then in the layers menu (F7) select the shape you have just drawn by holding the ⌘ key (Ctrl on windows I think) and click the layer thumbnail. You should then see the ant trail (a black and white line around the ellipse you have just drawn.
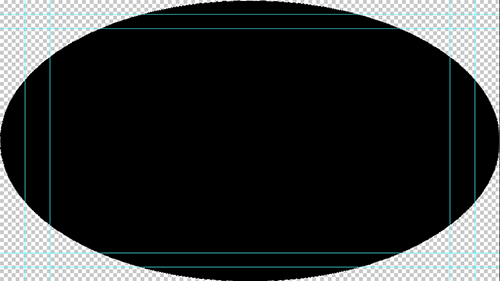
Then go to Select > Inverse. Create a new layer by going to Layer > New… > Layer and fill the selection with Black.
Turn off the original ellipse layer you created and you’ll be left with the inverse:
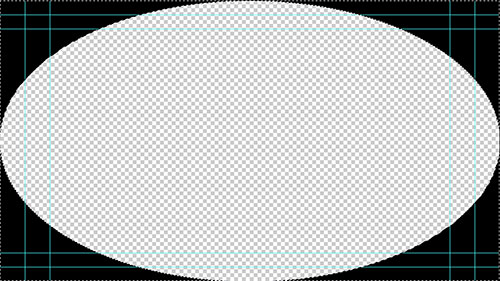
Then go to Select > Deselect to remove the marching ants.
Next convert the layer to a Smart Object so we can apply filters non-destructively (this makes it easier to change things). To do this go to Filter > Convert for Smart Filters.
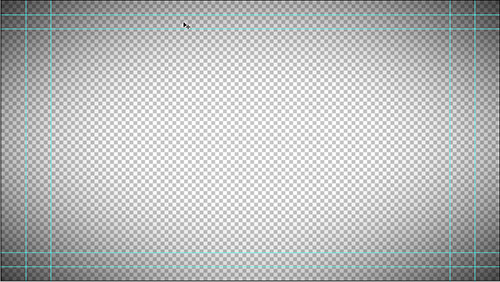
Then we apply a Gaussian Blur - Filters > Blur > Gaussian Blur. You should end up with something like this:
Save your file as a PSD and it is ready to use in Adobe Premier. Drag the file into your bin it will be available for you to use in your project.
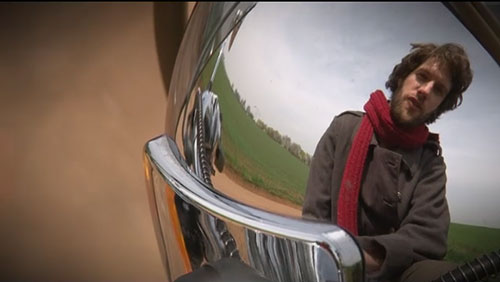
The finished effect 
Applied over the video the Vignette gives us the effect we are looking for:
Tags
Can you help make this article better? You can edit it here and send me a pull request.
See Also
-
Why use Web Safe Colours?
I've always designed using the web safe colour palette. Recently I realised I didn't actually know why. After a bit of research it would seem it is less relevant than I thought. -
Batch resizing in Photoshop
If you have lots of images you want to resize Photoshop can take care of it for you. Using Actions and Automate you can do it once then put your feet up. Here's how it works. -
Screen Modes in Photoshop
When designing in Photoshop there are a couple of options that allow you to review your design without noise around it. Here's a quick overview of how you can take a step back from the digital canvas.