Creating Captioned Images in Photoshop
In creating a website branding is as important as any other discipline. One of the techniques I like to use to evoke brand messages is to use captioned images. Using a photoshop and a bit of knowledge of masks and opacity you can have a powerful brand motif in no time.
Choosing the image 
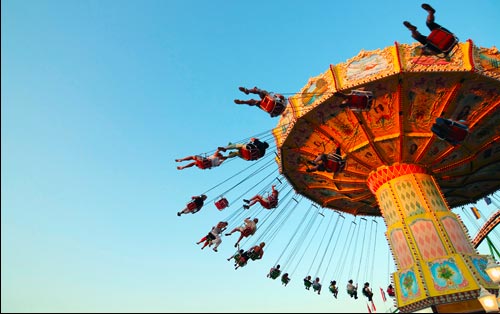
First lets start with the image. Think about what you want to portray. Find an image that matches the aspirations of your brand. Choose one that is quick to recognise and will work on the smaller screen resolutions of the web. There are numerous image banks on the web and you do not need to pay the earth for excellent imagery.
Cropping the image 
Cropping the image is also an important stage. At this stage you should be aware of the text to go on the image and have an idea of where it should go. Play with where the text is going to appear using the Move tool.
Creating the opaque layer 
Create a new layer and draw a shape using the rectangle tool. You are not limited to the rectangle tool so experiment with other tools. To reveal some of the image underneath you alter the opacity of the layer. In the layers menu highlight the rectangle layer you have just drawn. In the very top right hand corner is an option called Opacity. Click on this and then drag the slider until you are happy with the appearance.
Adding text 
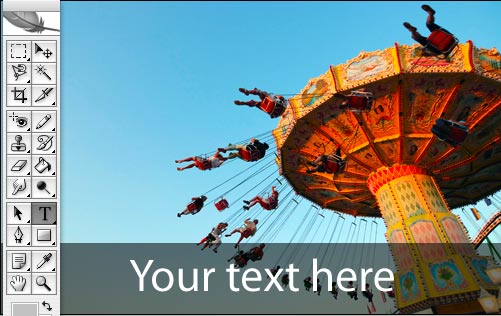
Add the message you would like on top of the layer. You can play with colors and fonts but I find the a strong contrast works well.
Breaking the box 
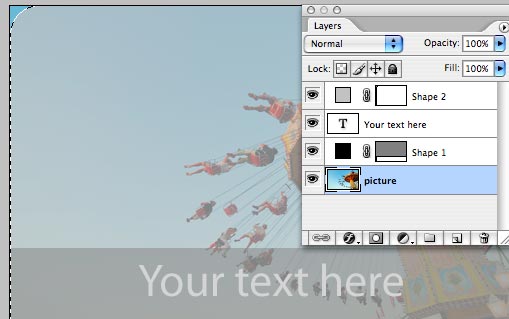
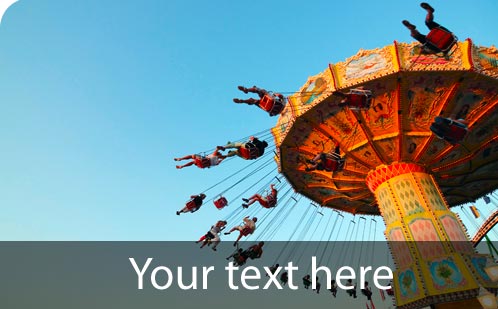
At this stage the image is very square. If this is your preference then you are finished here and the image can be used on your site. Personally I like to break up the edges a bit. In this example I’m going to curve off the top left corner. To do this select the rounded rectangle tool. In the top bar you will see the option radius. This is the curve you will get. For an image of around 500px I find 20 or 30 is good. Begin the rectangle in the top left hand corner and drag it beyond the picture to the right. Then use this layer to mask off the your photo layer. To select the curved rectangle layer Apple click to select. Then select your photo layer and click mask. This will remove the corner of the image and leave a perfect curve. Finally remove the appearance of the curved rectangle layer by reducing the opacity to 0%. You can play with many shapes and curve off any of the corners if you wish.
A note on Accessiblity 
Although these images will improve the appearance of your site they won’t be read by screen readers unless you supply meaningful alt text. This is also good for search engine robots who will crawl your site. Make sure you use alt text on your images and if you wish the title tag:
<img
  src="/images/yourimage.jpg"
  alt="A picture of a Merry Go Round with text reading Your Text Here"
  alt="A picture of a Merry Go Round with text reading Your Text Here"
  width="502"
  height="314"
/>
Captioned images are very effective but should be used sparingly in order not to hinder the accessibility and search engine optimisation of your site.
Tags
Can you help make this article better? You can edit it here and send me a pull request.