Creating backgrounds with Patterns in Photoshop
Often designs need a background to fill space behind navigation or other page elements. Here one way to create them.
Using patterns 
Using custom patterns is a great way to fill large areas. Open up a new document of 12 x 12 and select the pencil tool. Draw a pattern that will repeat. Here’s the one that I’ve drawn.
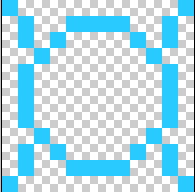
To convert it to a pattern go to Edit > Define Pattern. Now create a new document that will be used to create the background. I’ve created mine at 500 x 300. Create a new layer with a solid fill. My colour here is #ff0099.
Building the background 
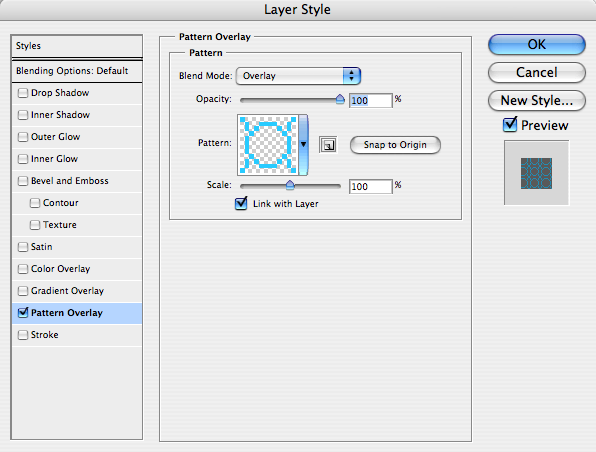
Now right click on the layer and choose “Blending Options”. You will see the Layer style dialogue come up. Click Pattern Overlay. In the middle you will be able to click and select the pattern you have just added. Change the blend mode at the top to Overlay. You can play with the Opacity and Scale if you like too.
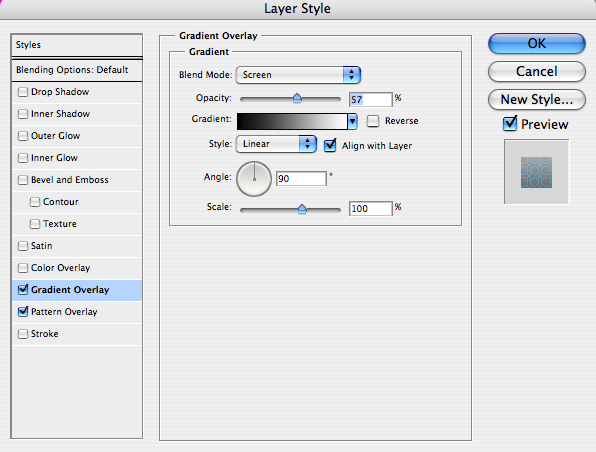
Then click on the Gradient Overlay option. Select the standard Black to White Gradient and choose Screen for Blend Mode. Play with the opacity until you are happy. I stopped at 57%.
Within a couple of minutes you can quickly build up a background that stands out from a standard solid fill.

Tags
Can you help make this article better? You can edit it here and send me a pull request.
See Also
-
Using patterns in Photoshop
Patterns area hidden gem in Photoshop. Here's a short tutorial showing you how to make your own and how to use them in your designs. -
The New Photoshop Logo
I'm not often moved to criticise other designers work. It is their livelihood after all. But the new Photoshop logo falls well short of the mark. -
Dotted lines in Photoshop
Designing for the web in Photoshop has one thing missing - dotted lines. Here's how to create dotted lines so you can show clients how links will look.